

Techniques Slabbing
SLABBING
“Turning the sketchbook into clay.” – A Teacher / Student’s viewpoint.
SLABBING
__
A slab form can often be rigid in the form of multiple faces and used to portray simple drawings. It is particularly effective in portraying pattern designs (Figure 13) and it is with this in mind that again we must rely on high quality primary and secondary sources to develop into sculptural form. Before embarking on this venture a certain amount of planning is necessary……
A slab piece can consist of any number of flat pieces of clay (slabs) with which to build a form. It is often useful to work on the flat piece of soft clay with surface and texture before it is built into a structure and an awareness of the consistency of the clay before building is essential. If the structure is attempted while very soft, the clay will almost certainly collapse into a heap. The trick is to allow slabs to dry a little in a pre-planned shape so that building can occur.


Figure 13: Y13 Examination Theme – The Vikings.
Slab built 4 sided form
The main advantage of a slab piece is that a great deal of decoration and surface treatment can be achieved at the initial stages whilst the clay is still flat. Printing techniques can be applied as well as relief images that can be directly transferred from sketchbook primary or secondary sources. The slab can be presented as a tile or in its raw state a rough slab and this serves as an experimental outcome that shows great development from the sketchbook.

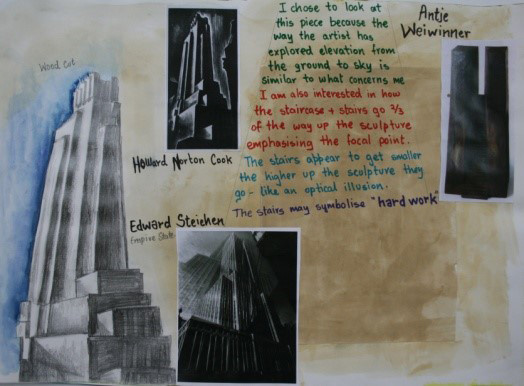

Figure 14 – Year 11 Examination theme “Ordinary Extraordinary”
This student uses a combination of primary and secondary sources to explore viewpoints featuring architectural forms using slab and relief techniques
In the initial stages of a project, having explored a range of primary and secondary sources, a variety of images may be drawn into a slab or tile simply using a tracing, photocopy or even a printed photograph of initial sources. It is important that the student now acknowledges that they are drawing in clay as they would on paper; the development of tones can begin by creating varied levels of relief and mark-making. An understanding of depth is essential to the quality of the image. This takes time, therefore in the interests of keeping a student focused and allowing the experiment to serve its purpose, it is wise to concentrate on specific areas of the image, leaving some areas undeveloped as one might in the sketchbook. Reassuringly, I find that it is often the students who are uncomfortable with leaving work unfinished once they have explored the potential of the technique and the source material.


One can make use of this discount viagra http://appalachianmagazine.com/category/history/old-ways-memories/page/4/ pill to get comfort the erectile dysfunction problem.
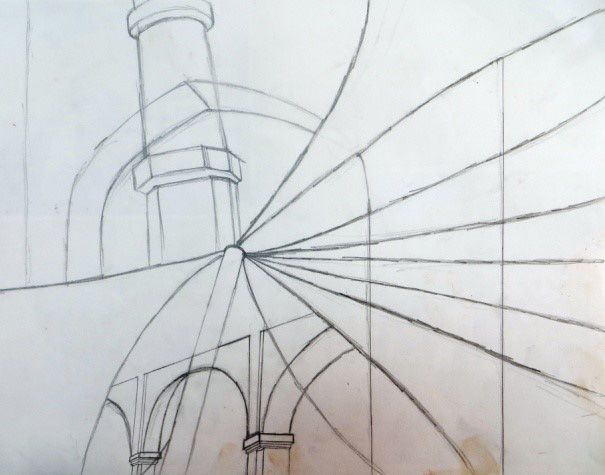
Figure 15 – Year 12 Coursework theme “Relationships”
These students produced primary source overlapped drawings of architectural features during a field trip to develop a slab form using relief techniques

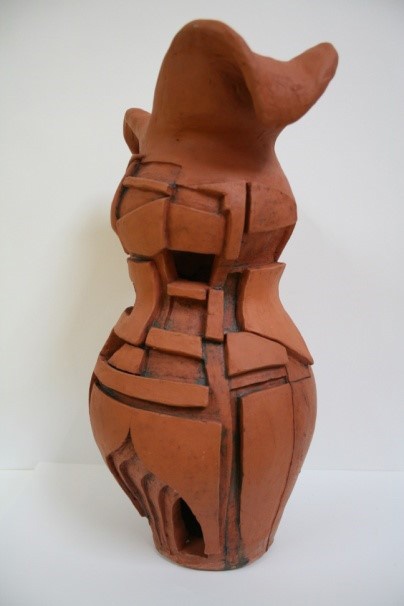
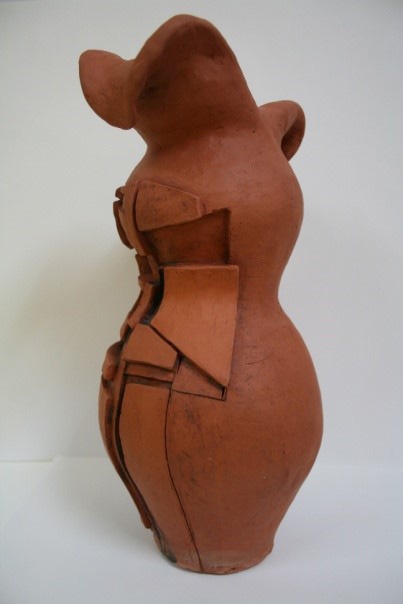
Figure 16 – Year 12 Coursework theme “Relationships”
The initial relief experiment is applied to the coiled form.
The use of photography is an excellent method of quickly transferring initial ideas into experimental maquettes that get students used to the idea of building structures. It is good practice to encourage structures featuring a varied number of faces in order for students to understand how this can affect the dynamics of the images on the surfaces. This forges some understanding of the relationship between surface and form, and in-so-doing, helps the student to make decisions regarding future developments. Figure 17 shows how photographs of exaggerated viewpoints have been the inspiration for a three sided pyramid. The triangular structure helps to emphasize the natural perspective from the source material, giving an extra sense of depth to the three facets of the piece.

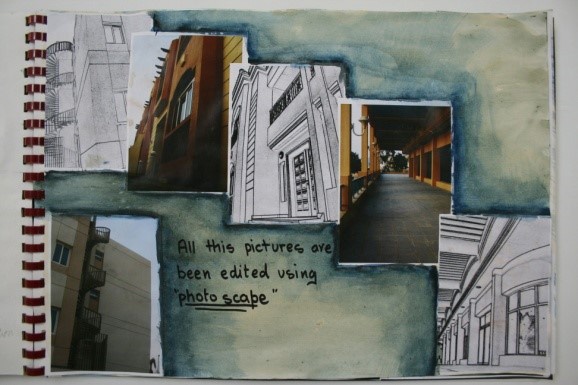
Figure 17 – Year 11 Examination theme “Ordinary Extraordinary”
This student uses photographs of local architectural features as a primary source starting point to develop a maquette slab form featuring relief techniques.
Having undertaken all this experimentation the student should now be confident enough to transfer this knowledge into a final outcome. Figure 18 shows the continuation of an exciting project that culminated in an impressive slab structure, bringing together some exciting primary source composition to create an architectural structure based upon a city skyline. The four slabs are drawn into simultaneously and built into the structure once the decoration is complete.
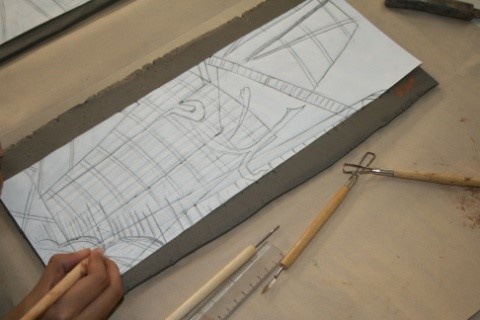
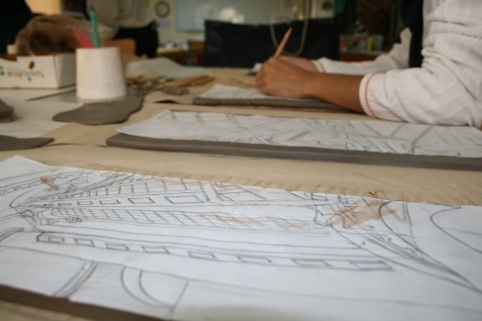
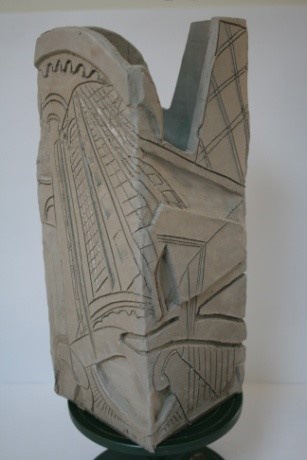
Figure 18 – Year 11 Examination theme “Ordinary Extraordinary”
Final designs are drawn into the slabs ready for relief work

About author


Add comment
You must be logged in to post a comment.