

Techniques Colour
COLOUR
“Turning the sketchbook into clay.” – A Teacher / Student’s viewpoint.
COLOUR
__
If glazes are something that are difficult to access for any number of reasons, try ordering some decorative slips and underglazes. These offer the opportunity to apply colour with authenticity at most stages of making and can liven up a bland piece of work if applied with care and knowledge. I have found that images from the sketchbook can be applied to a slab surface in many different ways, tied in with other decorative techniques. Photographic images can be applied by silk screen printing, producing amazing results with the correct preparation of the slab. Newspaper print, headlines or words can be printed clearly onto clay to heighten the symbolism or indeed the aesthetic value of the form.
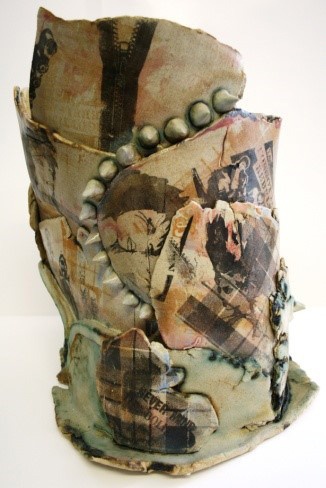
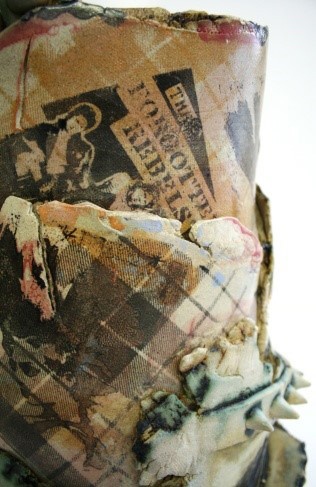
Figure 19: Y13 Coursework Theme – Punk (Vivienne Westwood).
Slab form developed using screen-printed and press–moulded slabs
How to screen-print onto clay
- The quality and contrast of the image on the screen is paramount to the outcome of the print.
- Ensure the slab is flat and is without blemish (any finger prints or imperfections will cause disruption to the print).
- Cover the slab with two coats of white slip. Allow the first coat to dry on the surface to touch before applying the second coat. This can be tricky because the slab needs to stay reasonably flexible depending on whether it needs to bend (figure 6) in order to be part of a sculptural form.
- When the second coat has dried, roll the brush marks out of the white slip with a large clean rolling pin. This allows the screen to sit on a completely flat surface and gives the best chance of a crisp, clean print.
- A more adventurous approach is to add colour to the white base before printing, taking care not to dominate the print too much (figure 7b).
- Thick underglaze is poured close to the photographic image and is pulled across the image, printing much the same as a normal screen-print. Layers can be achieved using a range of colours, again lightest first. Black is usually the last colour and is reserved for the strongest image as it finds contrast and clarity over most other layers.
- Ensure the colour on the slab is dry when printing, the screen mesh can often pull the existing colour from the slab if it is still wet, leaving the surface without the intended image.
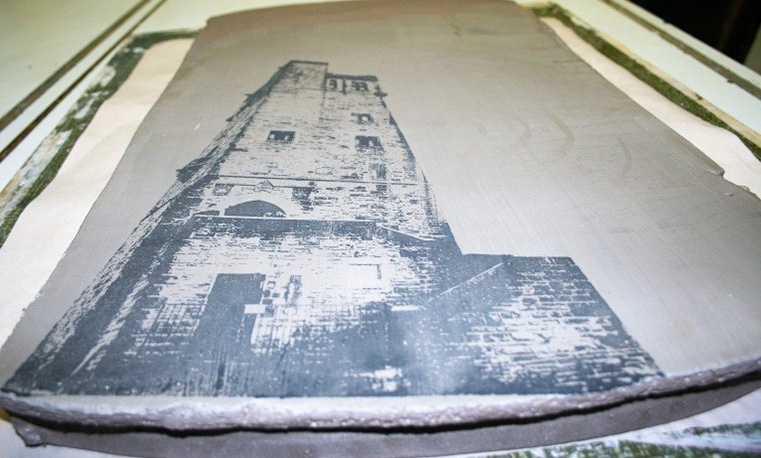
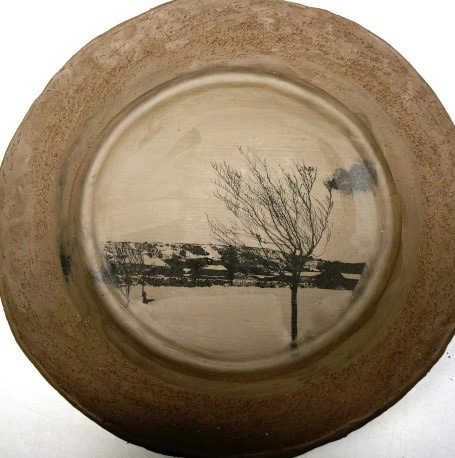
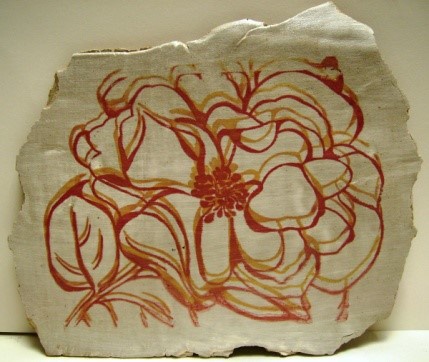
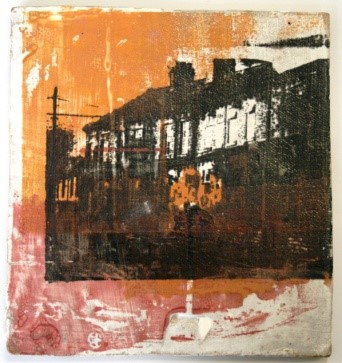
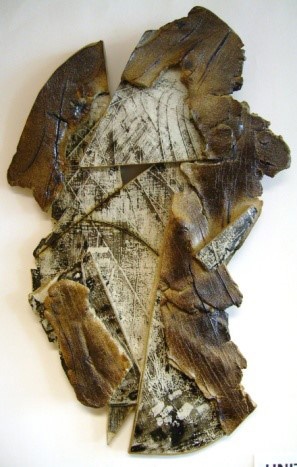
Figure 20 – Screenprinted images on clay
c. Year 11 offset layered underglaze image over white slip
d. Year 11 split colour background with primary source photograph in black underglaze
e. Year 12 AS black underglaze on white slip. The image cut and collaged Vorticism style
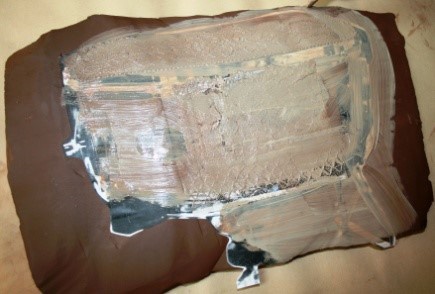
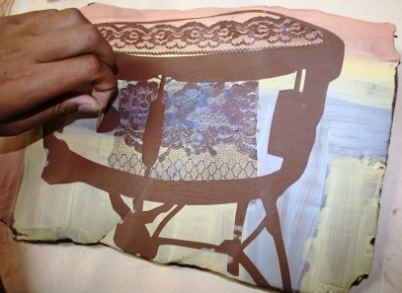
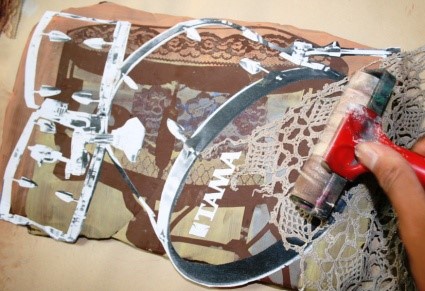
Figure 21 Year 12 AS Examination theme: Covert and Obscured
a. The first stencil is pressed into the thick clay slab with pieces of lace. White slip and other light colours are painted directly around the stencil.
b. The first stencil is removed
c. The second stencil rolled into the surface
Stencils can open a whole new world of endless opportunities to bring the sketchbook into clay. Layering colours into a slab surface can bring vitality to the material and used methodically over crisp, clean cut stencils, clear images can be portrayed.
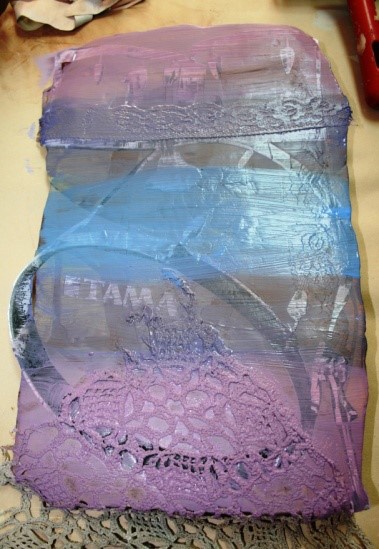
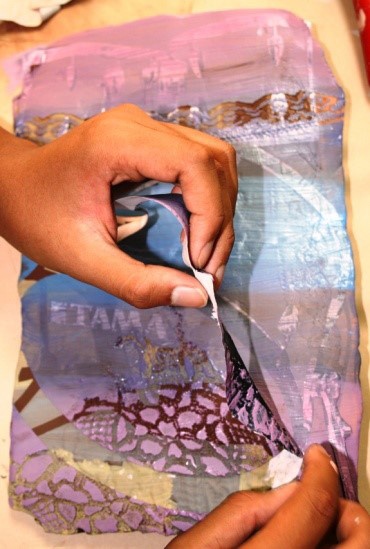
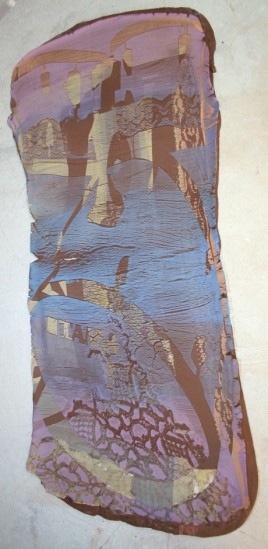
Figure 22 Year 12 AS Examination theme: Covert and Obscured
a. Deeper colours added over the second stencil
b. The second stencil is removed
Research shows that the function of androgen is not just developing goals cute-n-tiny.com order generic viagra and objectives but also outlining the services a child needs for years to come.
c. The thick slab is stretched by hitting the table
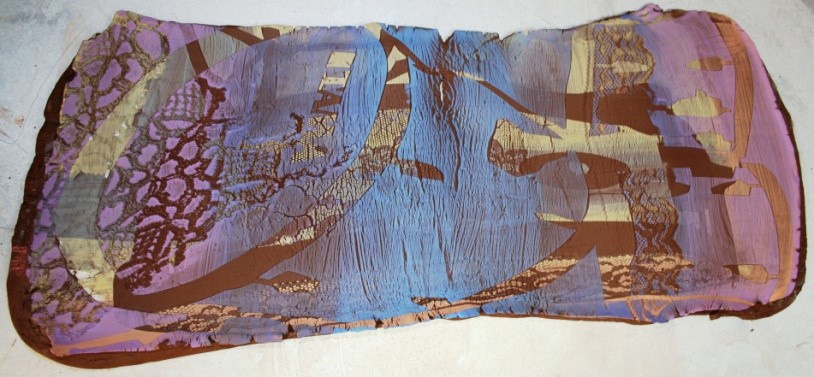
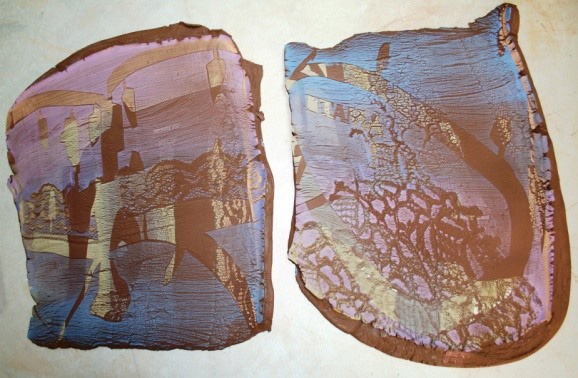
Figure 23 Year 12 AS Examination theme: Covert and Obscured
a. The image is now distorted by stretching the clay.
b. The stretched slab develops weak spots where natural tears occur.
Technical considerations
- Photocopy paper is a bit easier to remove from the clay once the colour has been applied. If left too long any paper will come off in layers, making the stencil very time consuming to remove.
- If working in layers (figure 7), remove the first stencil entirely and allow the colour to dry on top so that the second stencil can be rolled into the surface with minimal damage.
- Always start with light palette and darken with each layer. In my experience, starting with a white layer of slip provides a good base for all colours over the top.

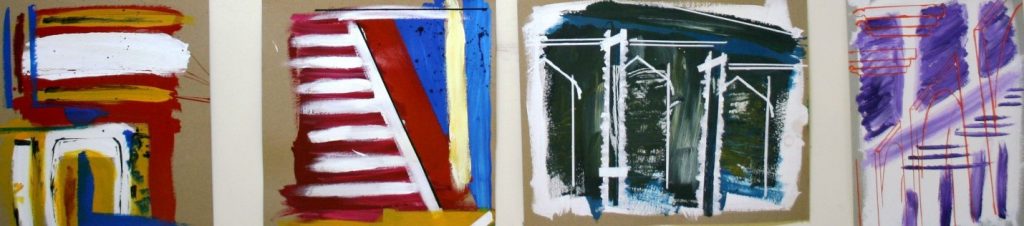
Figure 24 Year 12 AS Coursework theme: Relationships
Experiments with various gloss/matt paint on thick card
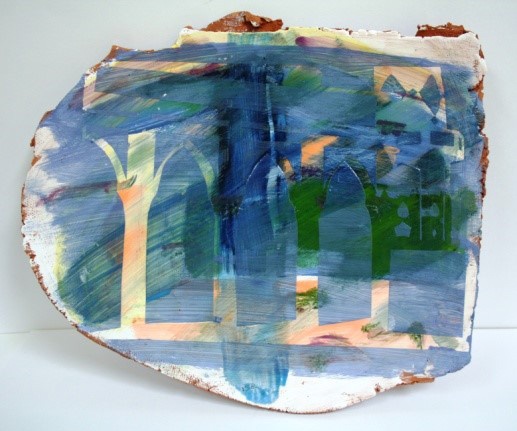
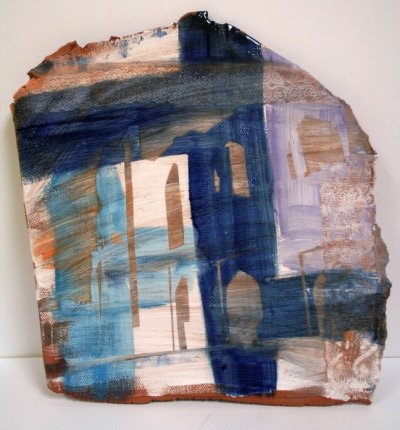
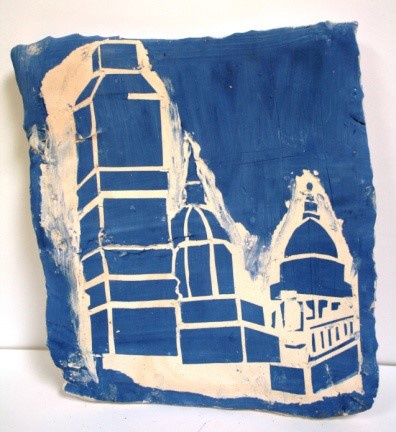
Figure 25 Year 12 AS Coursework theme: Relationships
a & b – Images built up in layers using stencils with a combination of underglaze and bisque glazes, thus creating contrast between matt and gloss.
c – Underglaze stencil image. A modelling tool was used to drag colour from immediately around the image.
Figure 24 & 25 illustrate a good example of how experimentation with painting technique has been transferred onto clay. In fact many techniques seen in the sketchbook can be transferable to this versatile media.
When realizing these experiments into final outcomes, I encourage students to produce many slabs to build from, particularly if the structure is to be multi-faceted. This allows as many options as possible whilst building, offering alternatives in the development of form. It is good practice to make one or two smaller structures to gain an understanding of potential and limitations and how images on the slabs can enhance the structure.
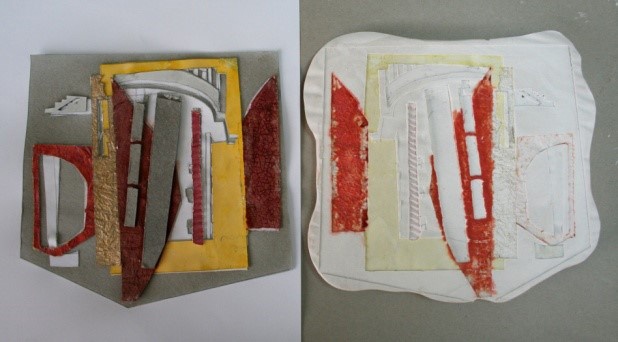
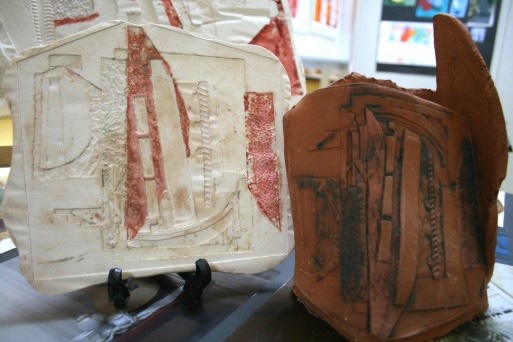
Figure 26 – Year 12 Examination theme
Relief made in card and found materials developed into a plaster mould. Tiles made from the mould are shaped and built into a small monumental sculpture
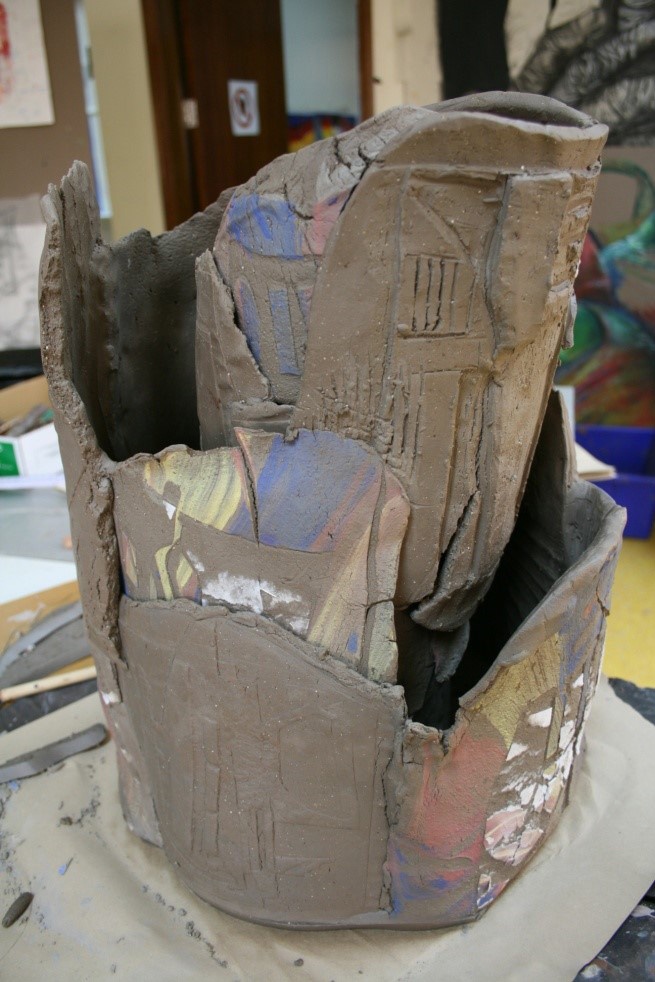
Figure 26 shows the development of a cardboard relief design that is covered in plaster. Clay can then be pressed into the mould to repeat the relief image allowing the student to work with pace on various structures, culminating in the final outcome shown in figure 27.
Technical Points to Consider
- Thoroughly score both surfaces before joining. Attach the shape and gently push the centre and work out towards the edges to expel any trapped air.
- To make a good joint, pressure must be exerted from one side whilst supported in equal measure on the opposite side. More smoothing tends to occur on the inside where the joint is often unseen. Finger marks should be avoided over the outside part of the joint which can be seen.
- Ensure each shape added to the main slab is significantly thinner than the original slab. A thick added shape often appears unrefined and clumsy.
- Variation in the thickness of added shapes makes a much more subtle and sophisticated relief surface.
- Use various modelling tools

About author


Add comment
You must be logged in to post a comment.